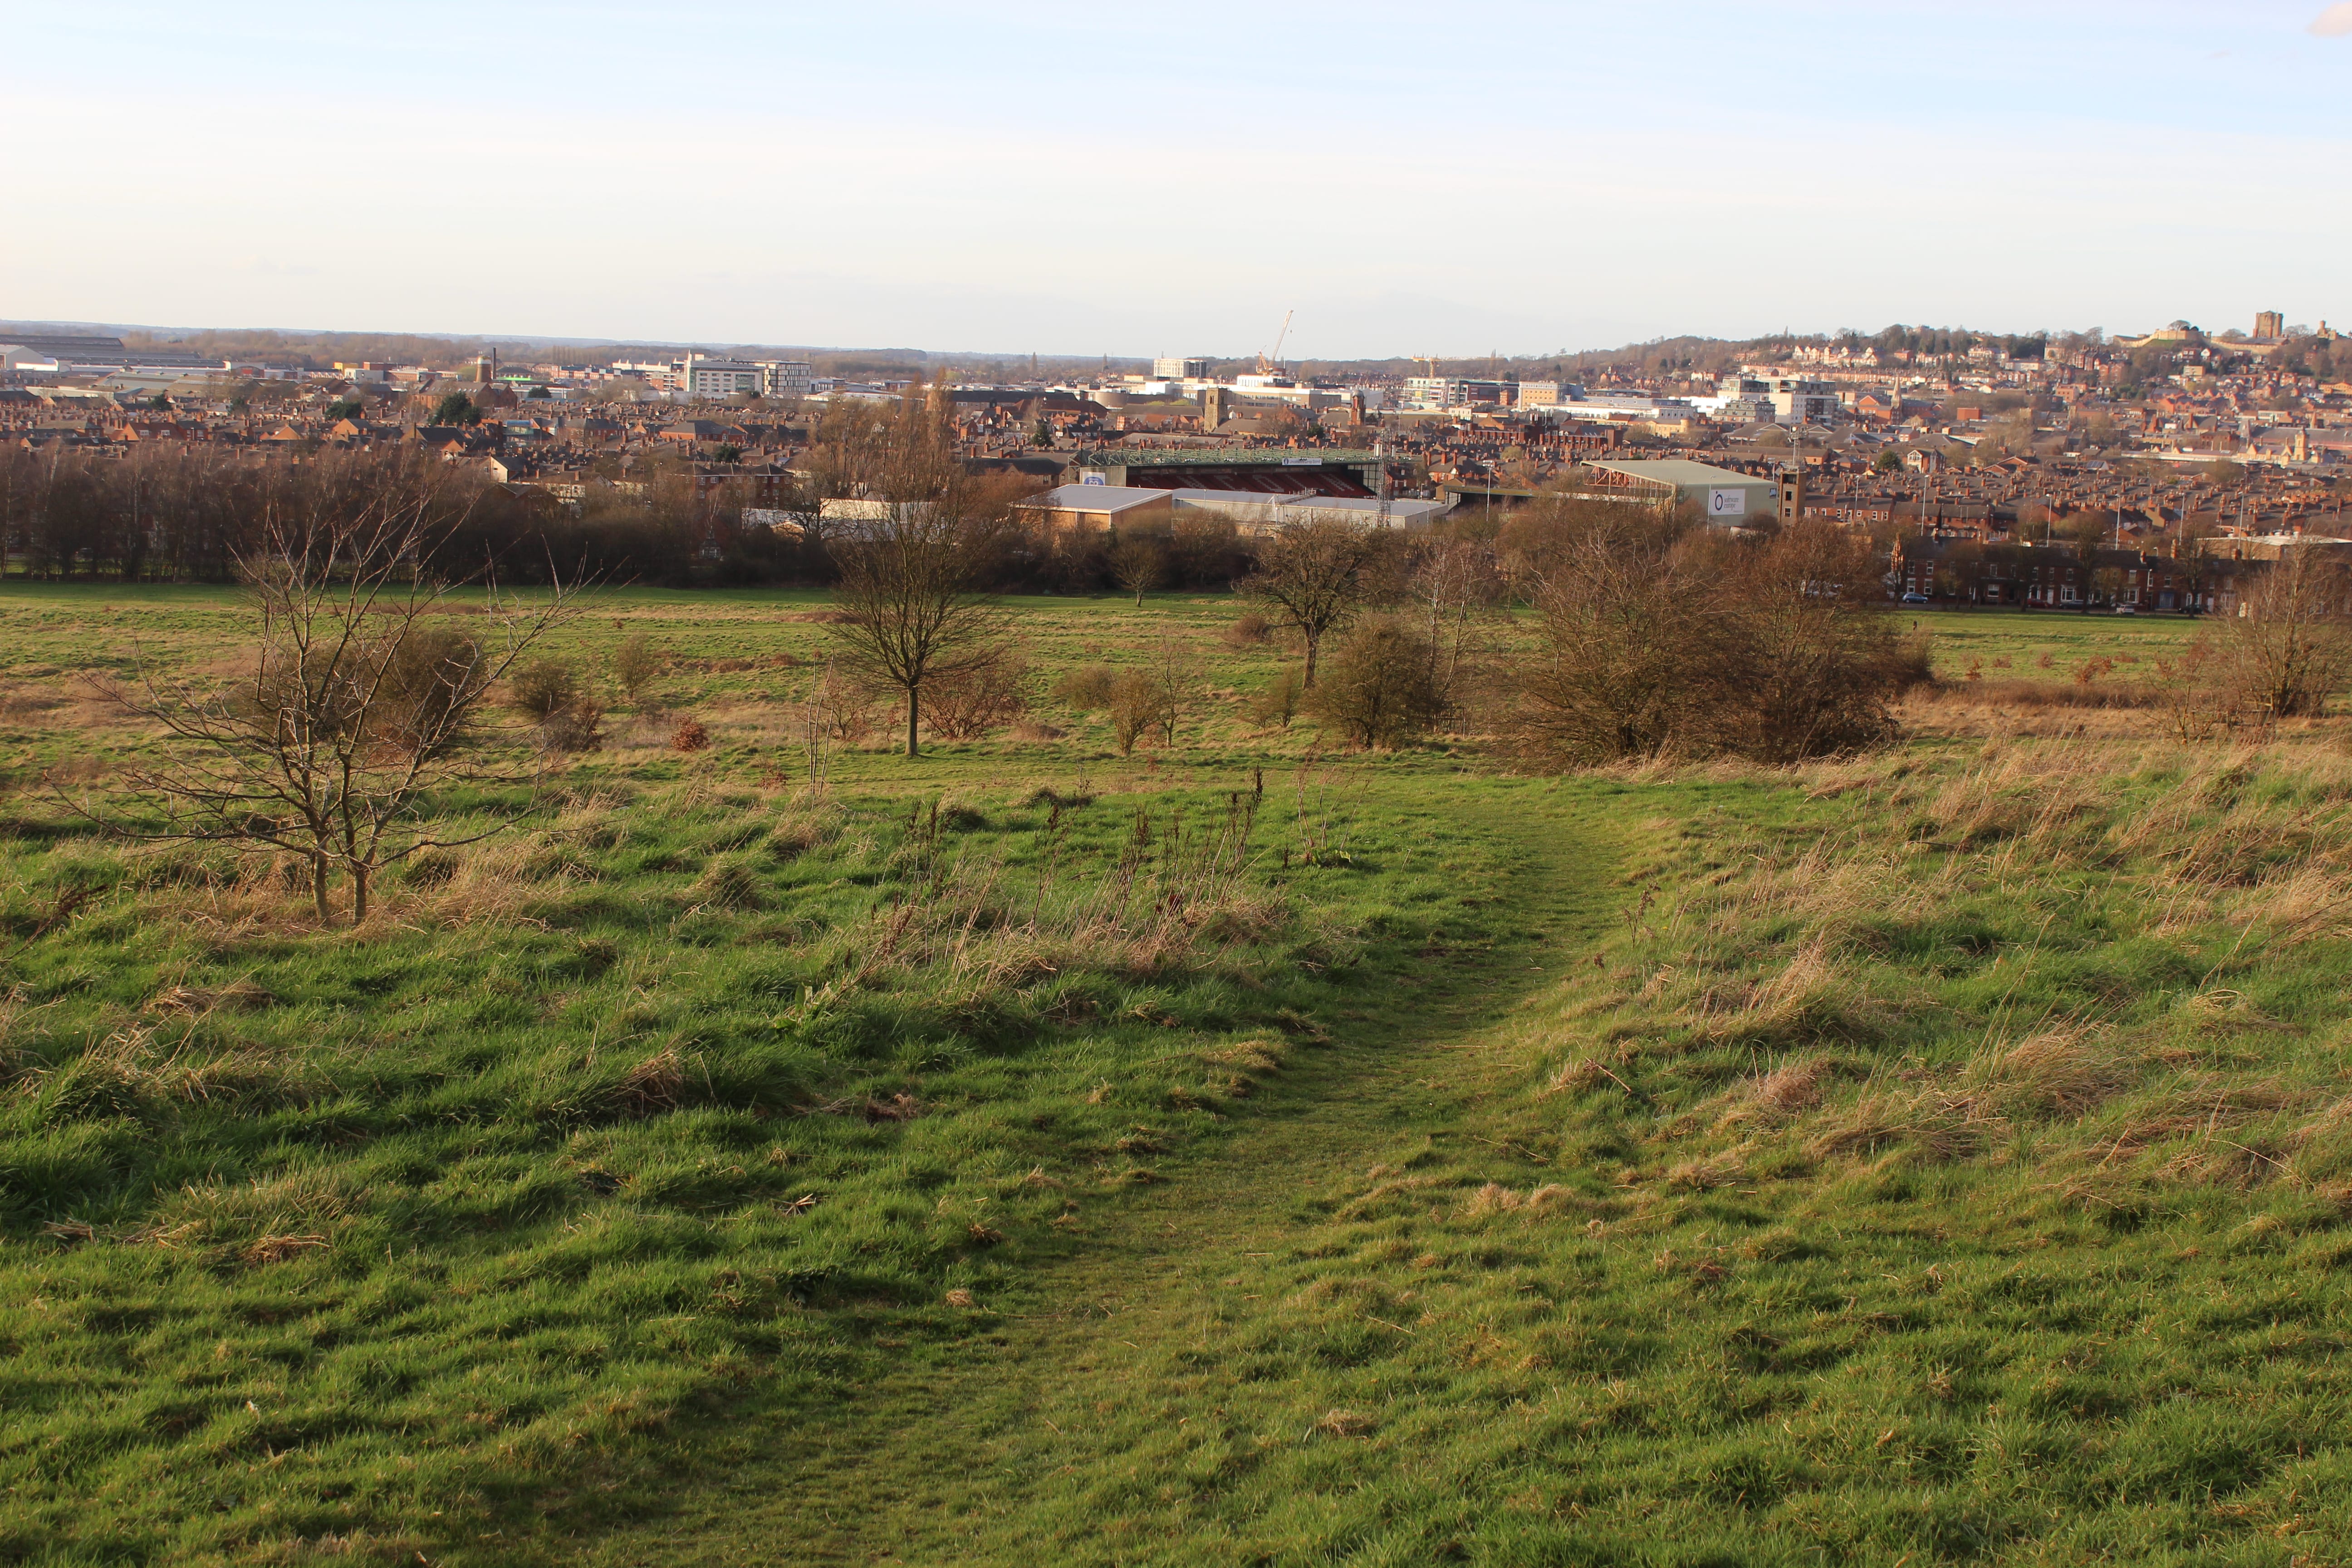
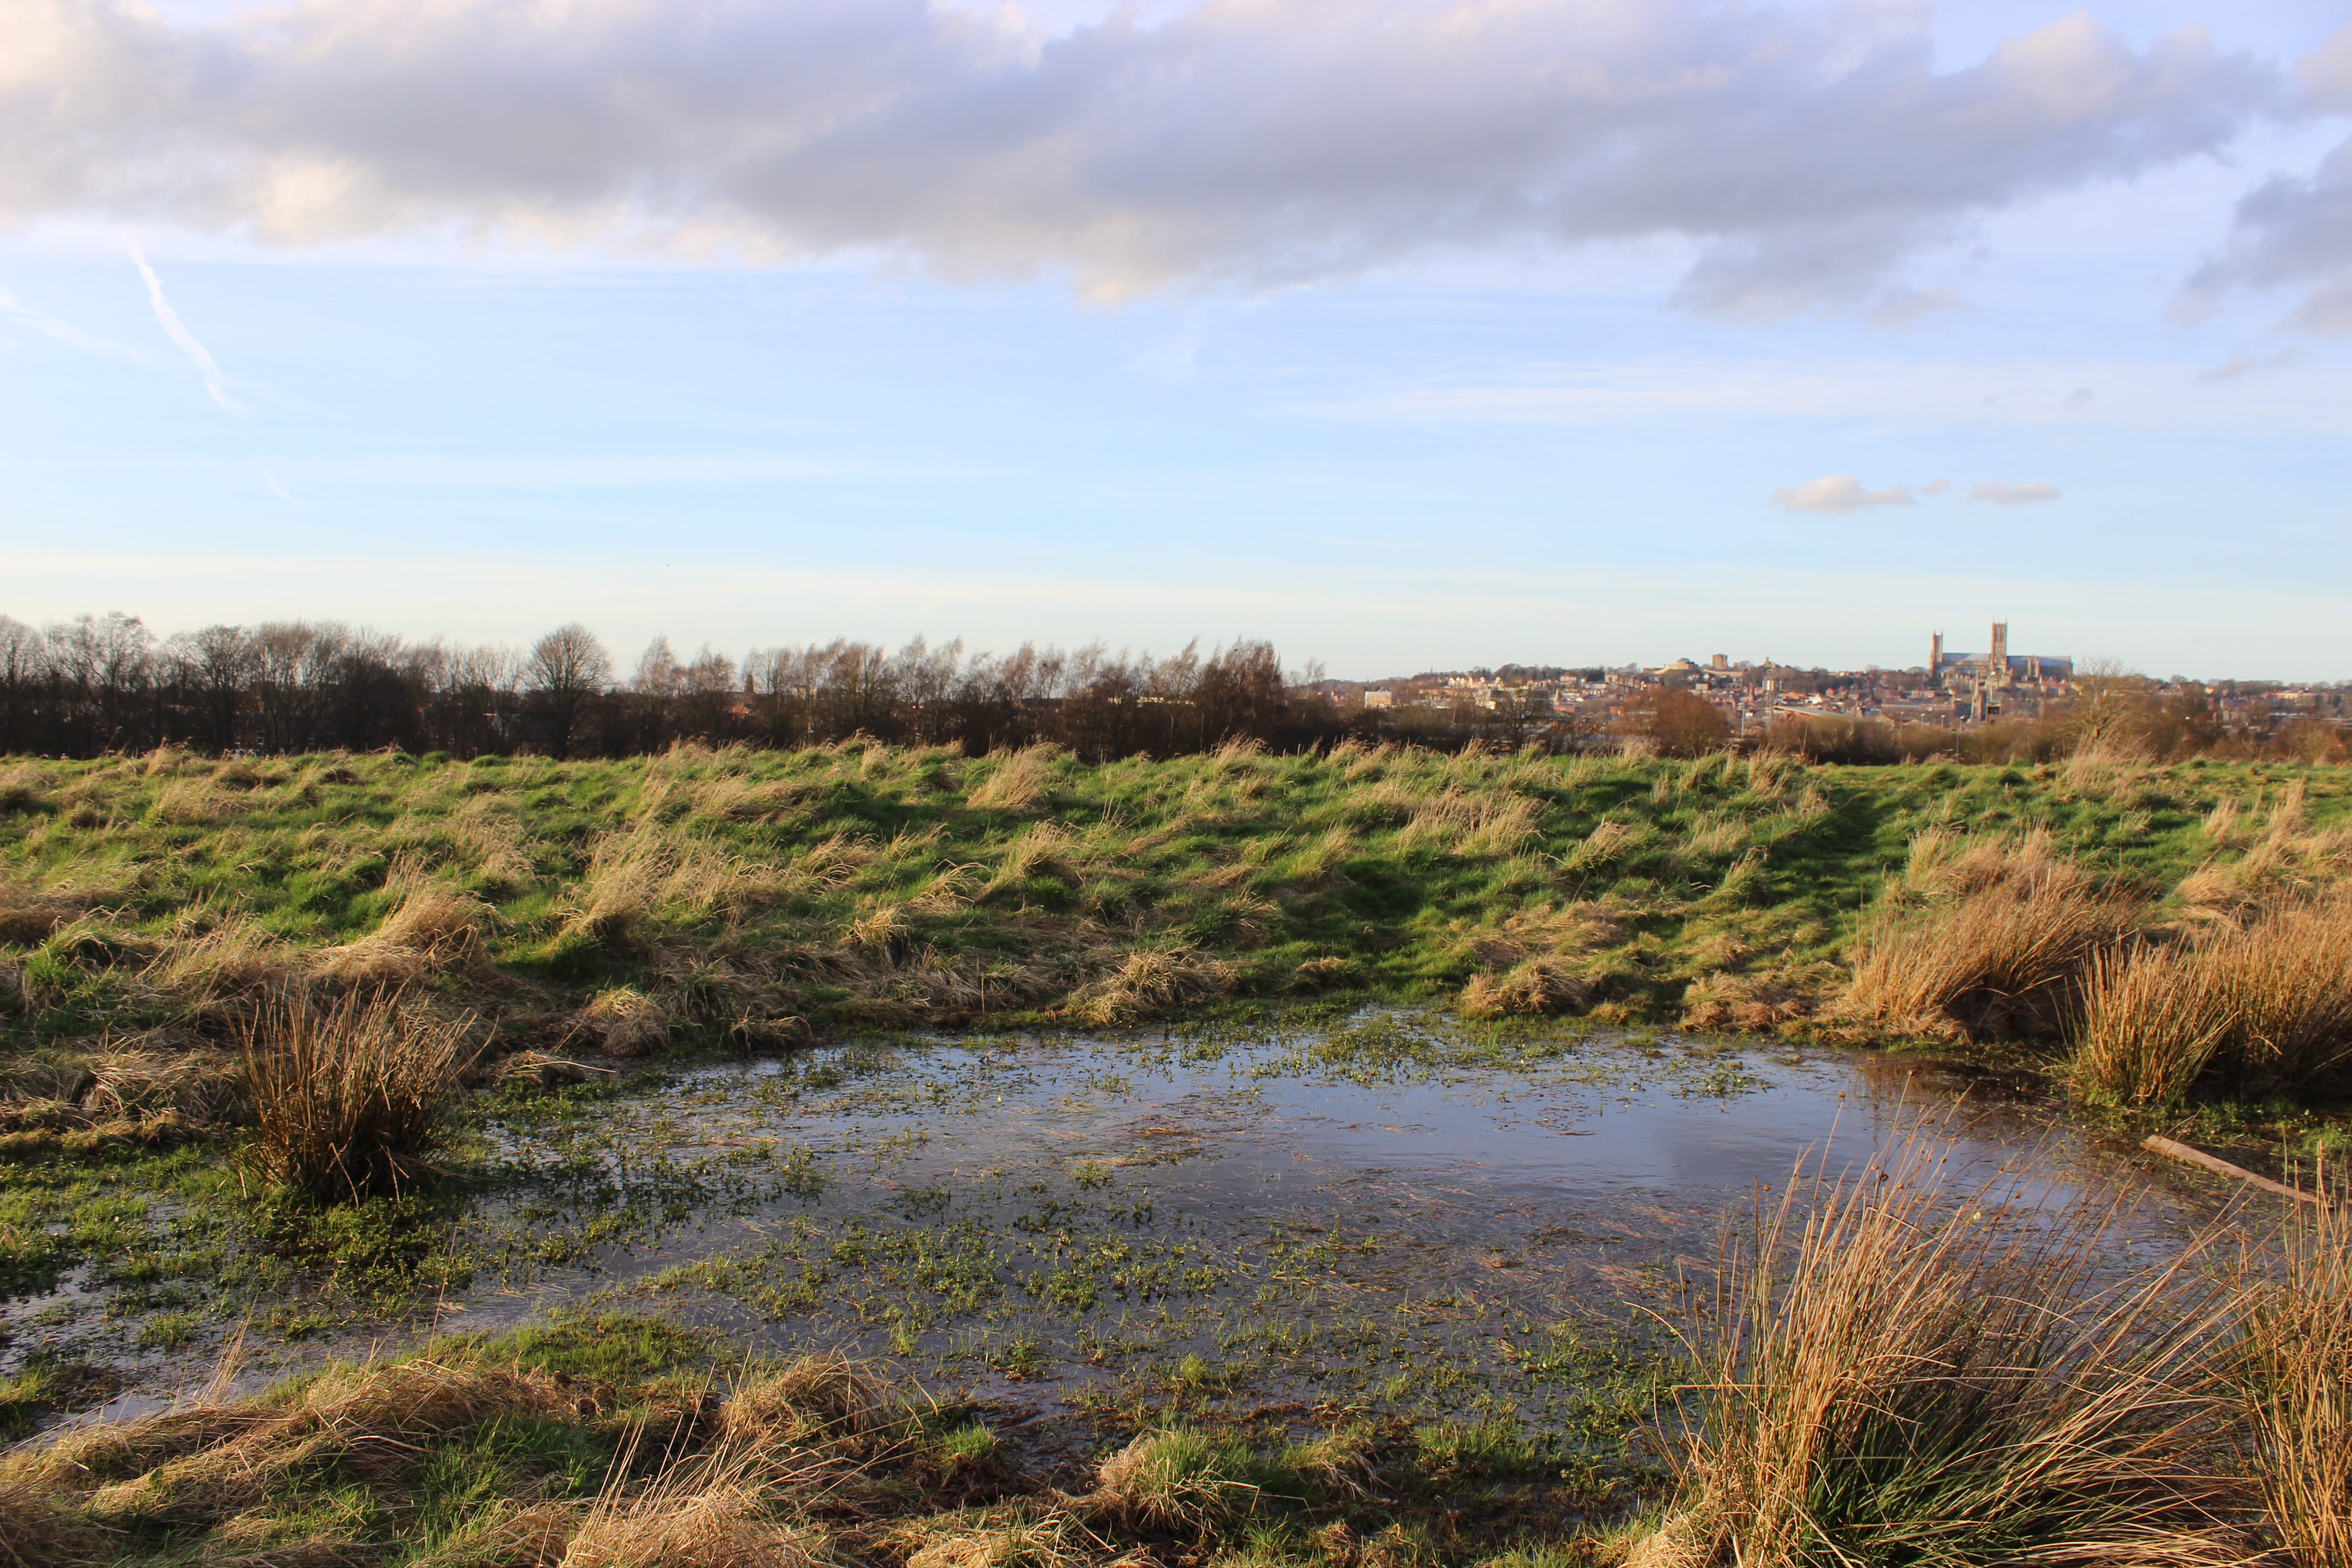
Today I went location scouting again and went to south common… Was quite a pleasant walk (regretting not getting a taxi back a little) anyhow it was a nice area, as with the other locations they share the same risks; such as getting to the location, this requires going through Lincoln so there is a traffic and pedestrian risk. As with West Common there are occasionally horses throughout the area, along with people walking their dogs in the area. Other than these “risks” there is also the risk of slipping on the hills (Almost ended up in a marshy puddle from doing just that)
However what I would call the main risk, is that there are no first aid areas nearby should anything happen, therefore taking a phone and small first aid kit as additional insurance is a must just in case the worst should happen.
Why this location?
Well it is an open area and will allow me to attempt using an influence for a matte painting. The main influence for a wide area such as an open field comes from Simon Stalenhag art work with technological monoliths in seemingly random places providing some mystery but also gives a narrative to his work
Over the past week whilst trying to catch up I decided that I should move on from trying Projection mapping in Blender, tough it is the weaker skill of mine out of what I have learnt so far I figured that I would attempt this in both Blender and After effects, tough in hindsight Ishould have used the same image.
Now to speed up the test I decided to only include five materials, meaning that I missed the roof on purpose as I couldn’t work out how it should look (that explains the grey area)
= Blender VS After effects =
In Blender this process was reasonably difficult, however now IUnderstand how it works I may be able to do this faster next time. As Blender has a 3D render engine (two in fact counting both Cycles and Blender Render) the effect created is true 3D. So projection mapping is using an image as a material to project onto 3D geometry. The initial set up of a project is key as the settings regarding camera lens size etc have to match or else it’ll all look a wrong either in aspect ratio or barrel distortion etc. Basically the idea is to match the camera.
Once the settings match, I added a cube and aligned both that and the camera to match the shot. Then, separated the faces that made up the cube and deleted the face closest to the camera and the top face.
Next it was time to go into Photoshop and separate an image into parts to work as the materials for the mapping.
After importing te now cut up images it is time to bring it all into Blender and making sure I was using Cycles Render I would use the nodes to connect up the various textures and shaders to make up a new material then rinse and repeat the process until I had as many materials as I had faces to work with.
After a lot of tinkering and matching the faces of the cube up, I would apply scale and rotation then enter edit mode press ‘U’ and then select project from view after pressing ‘0’ on the Numpad to toggle viewport to the active camera.
Unlike Blender, after effects lacks a 3D render engine meaning it can only simulate 3D though it may do a good job it is important to note what each software can be used for. To try learning this I watched a few tutorials on how to do camera mapping and it seems to be a little more fiddly to set up but gives faster results. The faster render times are likely due to lacking the 3D engine, where as Blender has to render out the geometry of the 3D meshes and then apply the material textures, after effects doesn’t it works from 2D material instead.
Where I had to build up a scene in Blender, in After effects I just had to create a few solid shape layers, then add the grid effect, rotate the grid to match the scene. Then add a new camera that matched the lens that the image was shot with. Next I added a spot lamp and duplicated the image I was working with. The next step is to give the lamp, duplicate image and camera the same position in 3D space and scale the image accordingly. After changing the solids to only accept light data and making sure the lamp casts shadows, pre-render the scene and it seemed to work. Next is just adding camera movement to the shot to try selling the effect.
(Add after effects test… Next time don’t forget to bring it back from digilab)
Unfortunately this effect didn’t work quite as planned as I had set the planes too low and only used two rather than four like I should have done. Also the shot had curved fences that also affected the final product.
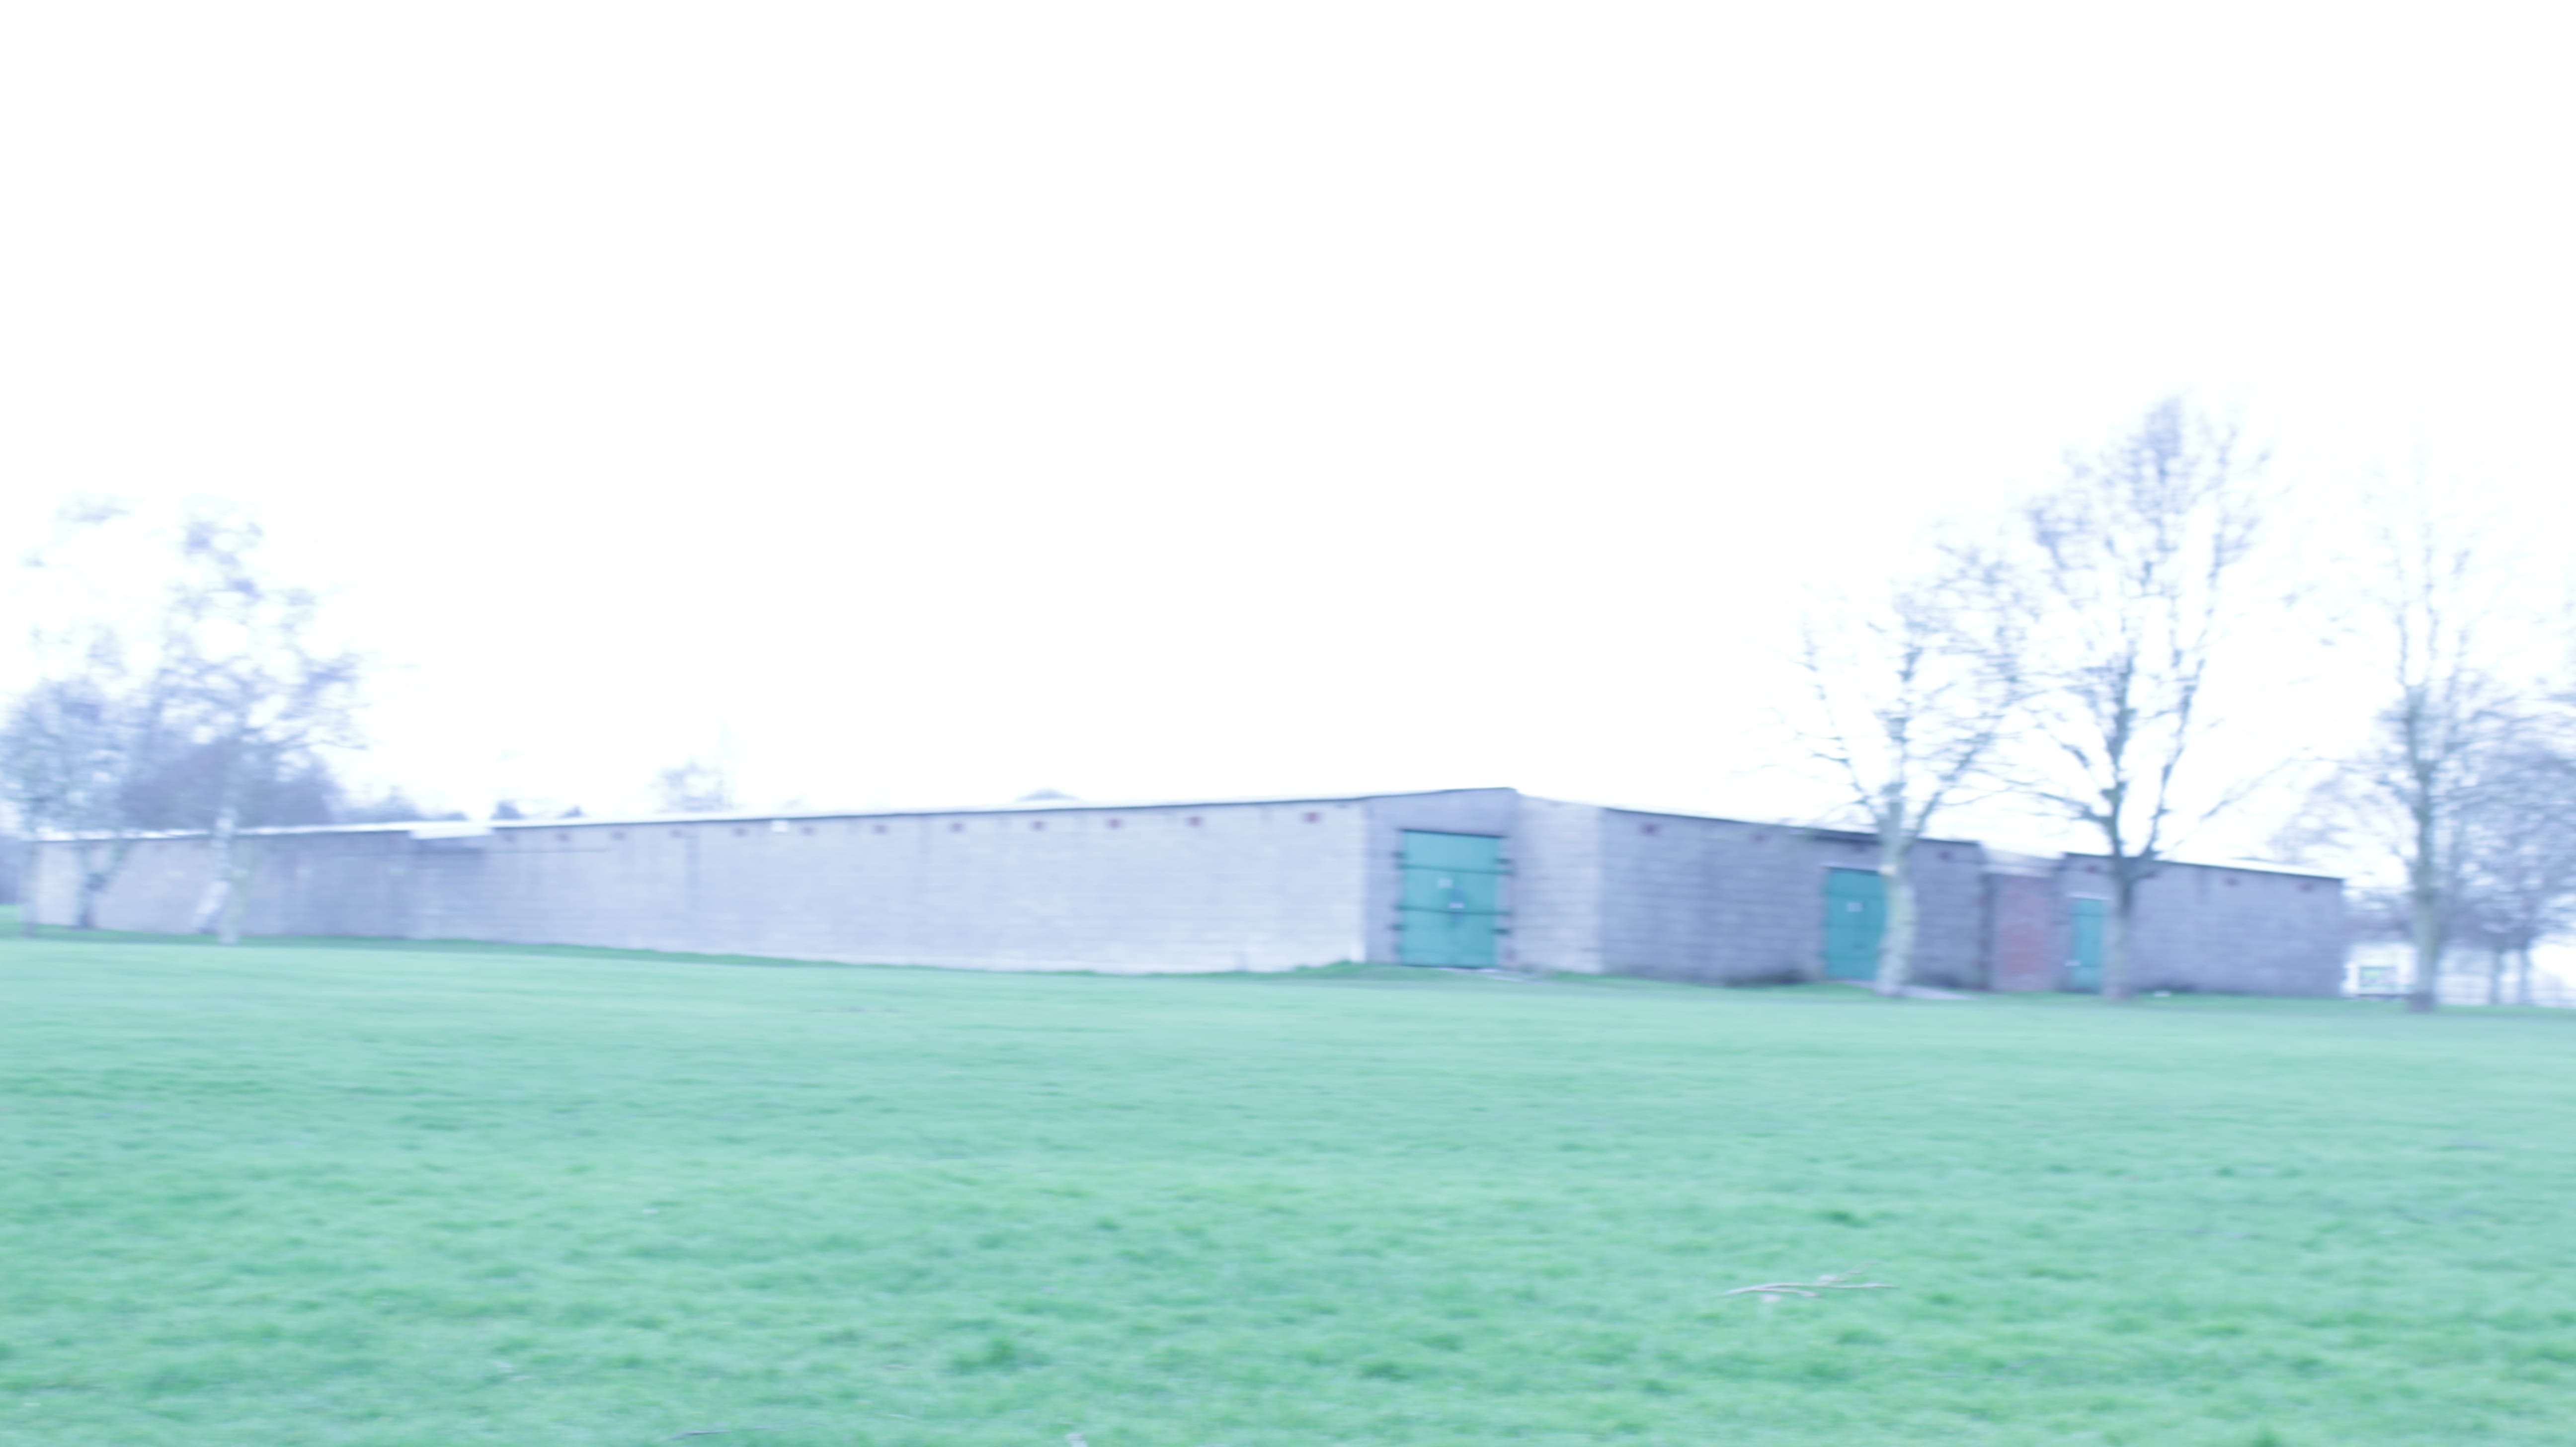
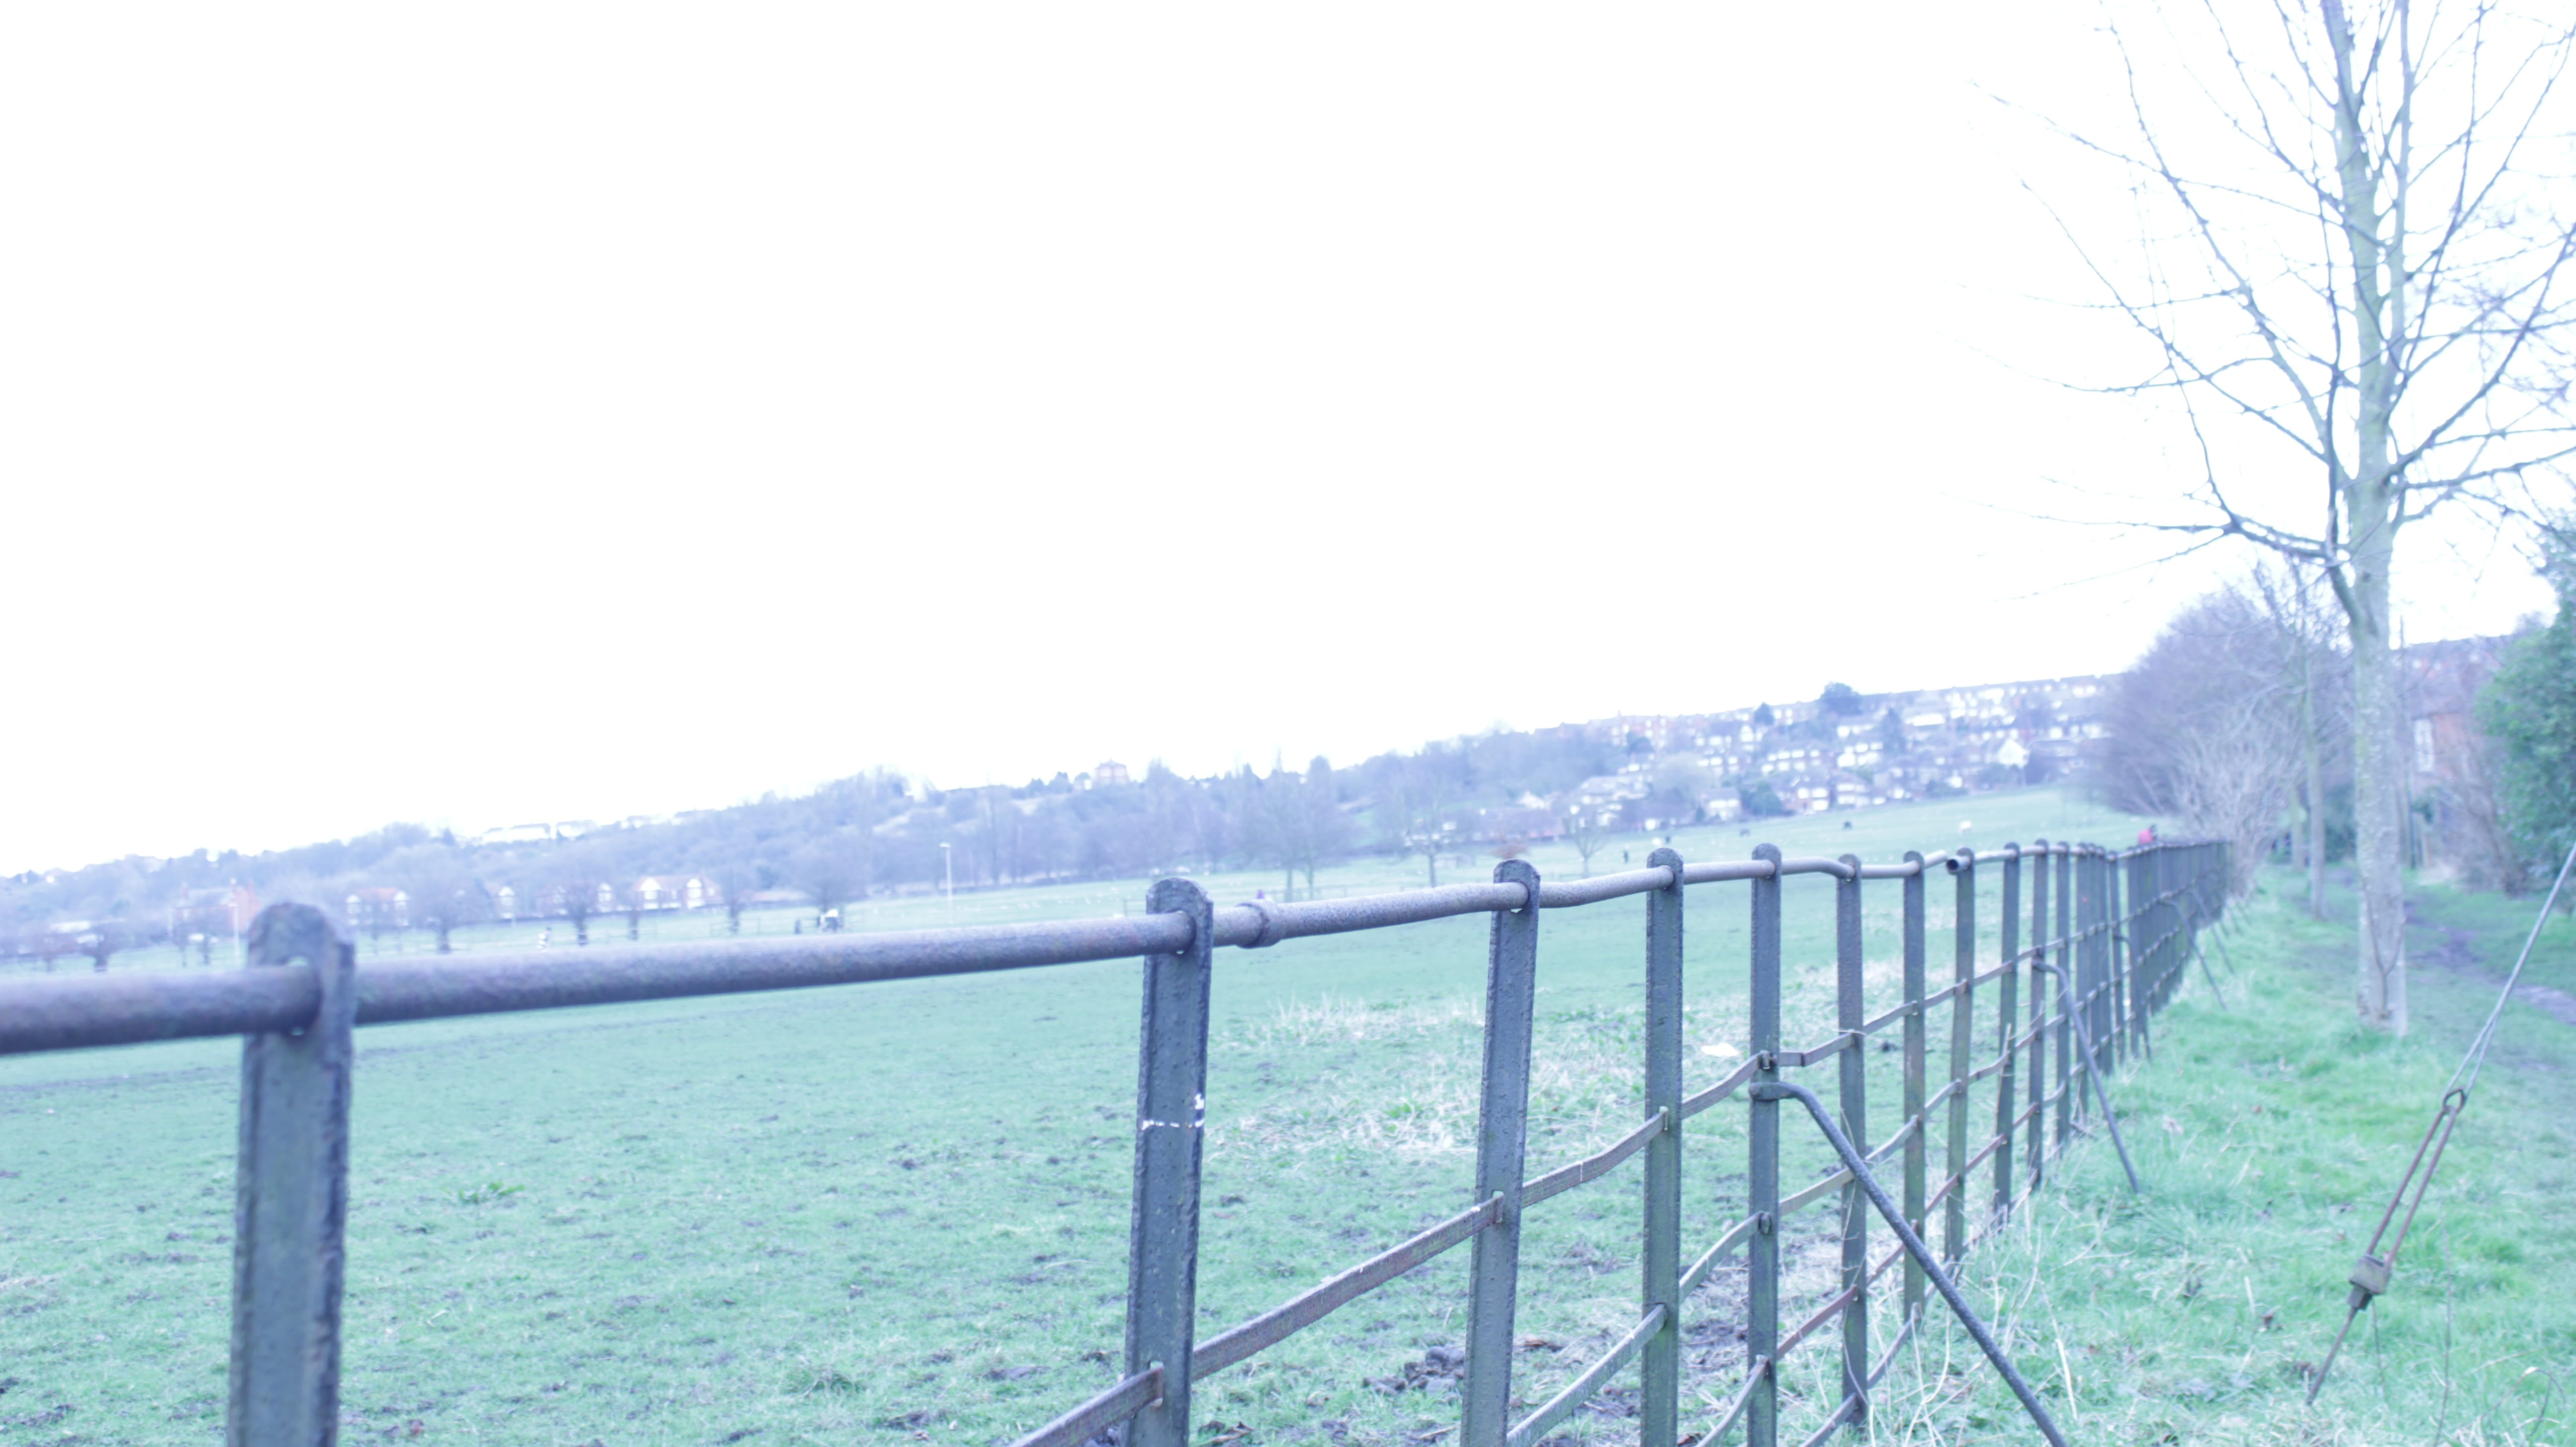
Today I went location scouting again, I had mixed results but I think I might have an ideal location for a shot. I ended up near West Comon which is essentially a big field where there are a number of horses. But also across the road there is a small golf course, both of these areas could work well for a matte painting or projection mapping shot.
Golf Course BuildingWest Common Field
However the mixed results part comes in when it comes to my use of camera… I had gotten so focused on what I was filming and where I needed to go that I had forgotten to make sure my camera was set up correctly. Once I had got back to my computer I found that most of the footage was washed out and over exposed… Turns out that I had left the aperture wide open, stupid mistake on my part. Next time obviously that will be something Iwill look at but also I may book the equipment longer than I need just in case, so I don’t end up rushing like I did today.
I did have some success though, I took a few videos of the Brayford Waterfront as a backup and additional location, this was when I realised about the aperture, but had changed it enough to capture some footage that I could use for matte painting. I just need to decide on what now.
[ErrorMVI_2111.MOV Sorry, this file type is not permitted for security reasons.]
I have been thinking about what I should do with my project as I am much further behind that I had thought at this point. Jon suggested Imake a to do list and work toward it by looking at what I need to have in my final project.
First I need to have a title card; this will have my details such as name, the roll I am working towards, my contact details including a phone number and an email address. I should also include what software packages I have learned and used within the reel.
Second I need to have a shot of some matchmove/camera tracked footage, followed by a short breakdown in total it should last a maximum of 25-30 seconds. For this shot it would be a good idea to have something that is easy to track such as decals, a 3D object or even a background replacement.
Third, I need to have an example of projection mapping, this is the thing I am struggling most with at the moment however I am having more and more success with this as I work. This shot should be an exterior scene, as it should in theory be more straight forward compared to something like an interior corridor where you can tell it’d be incorrect with the smallest detail.
Fourth, I should have examples of matte painting and set extensions, this should be in a location which is open for additions or has room for footage to be edited in such a way to show skills. Perhaps a shot of the brayford waterfront would work best for this.
Finally to round the reel off, another title card with my details on it again.
In other news I have looked into doing an internship with Framestore it’s slow going but I hope to send this reel off to them as part of my application.
This week has very much being about catching up with my project.
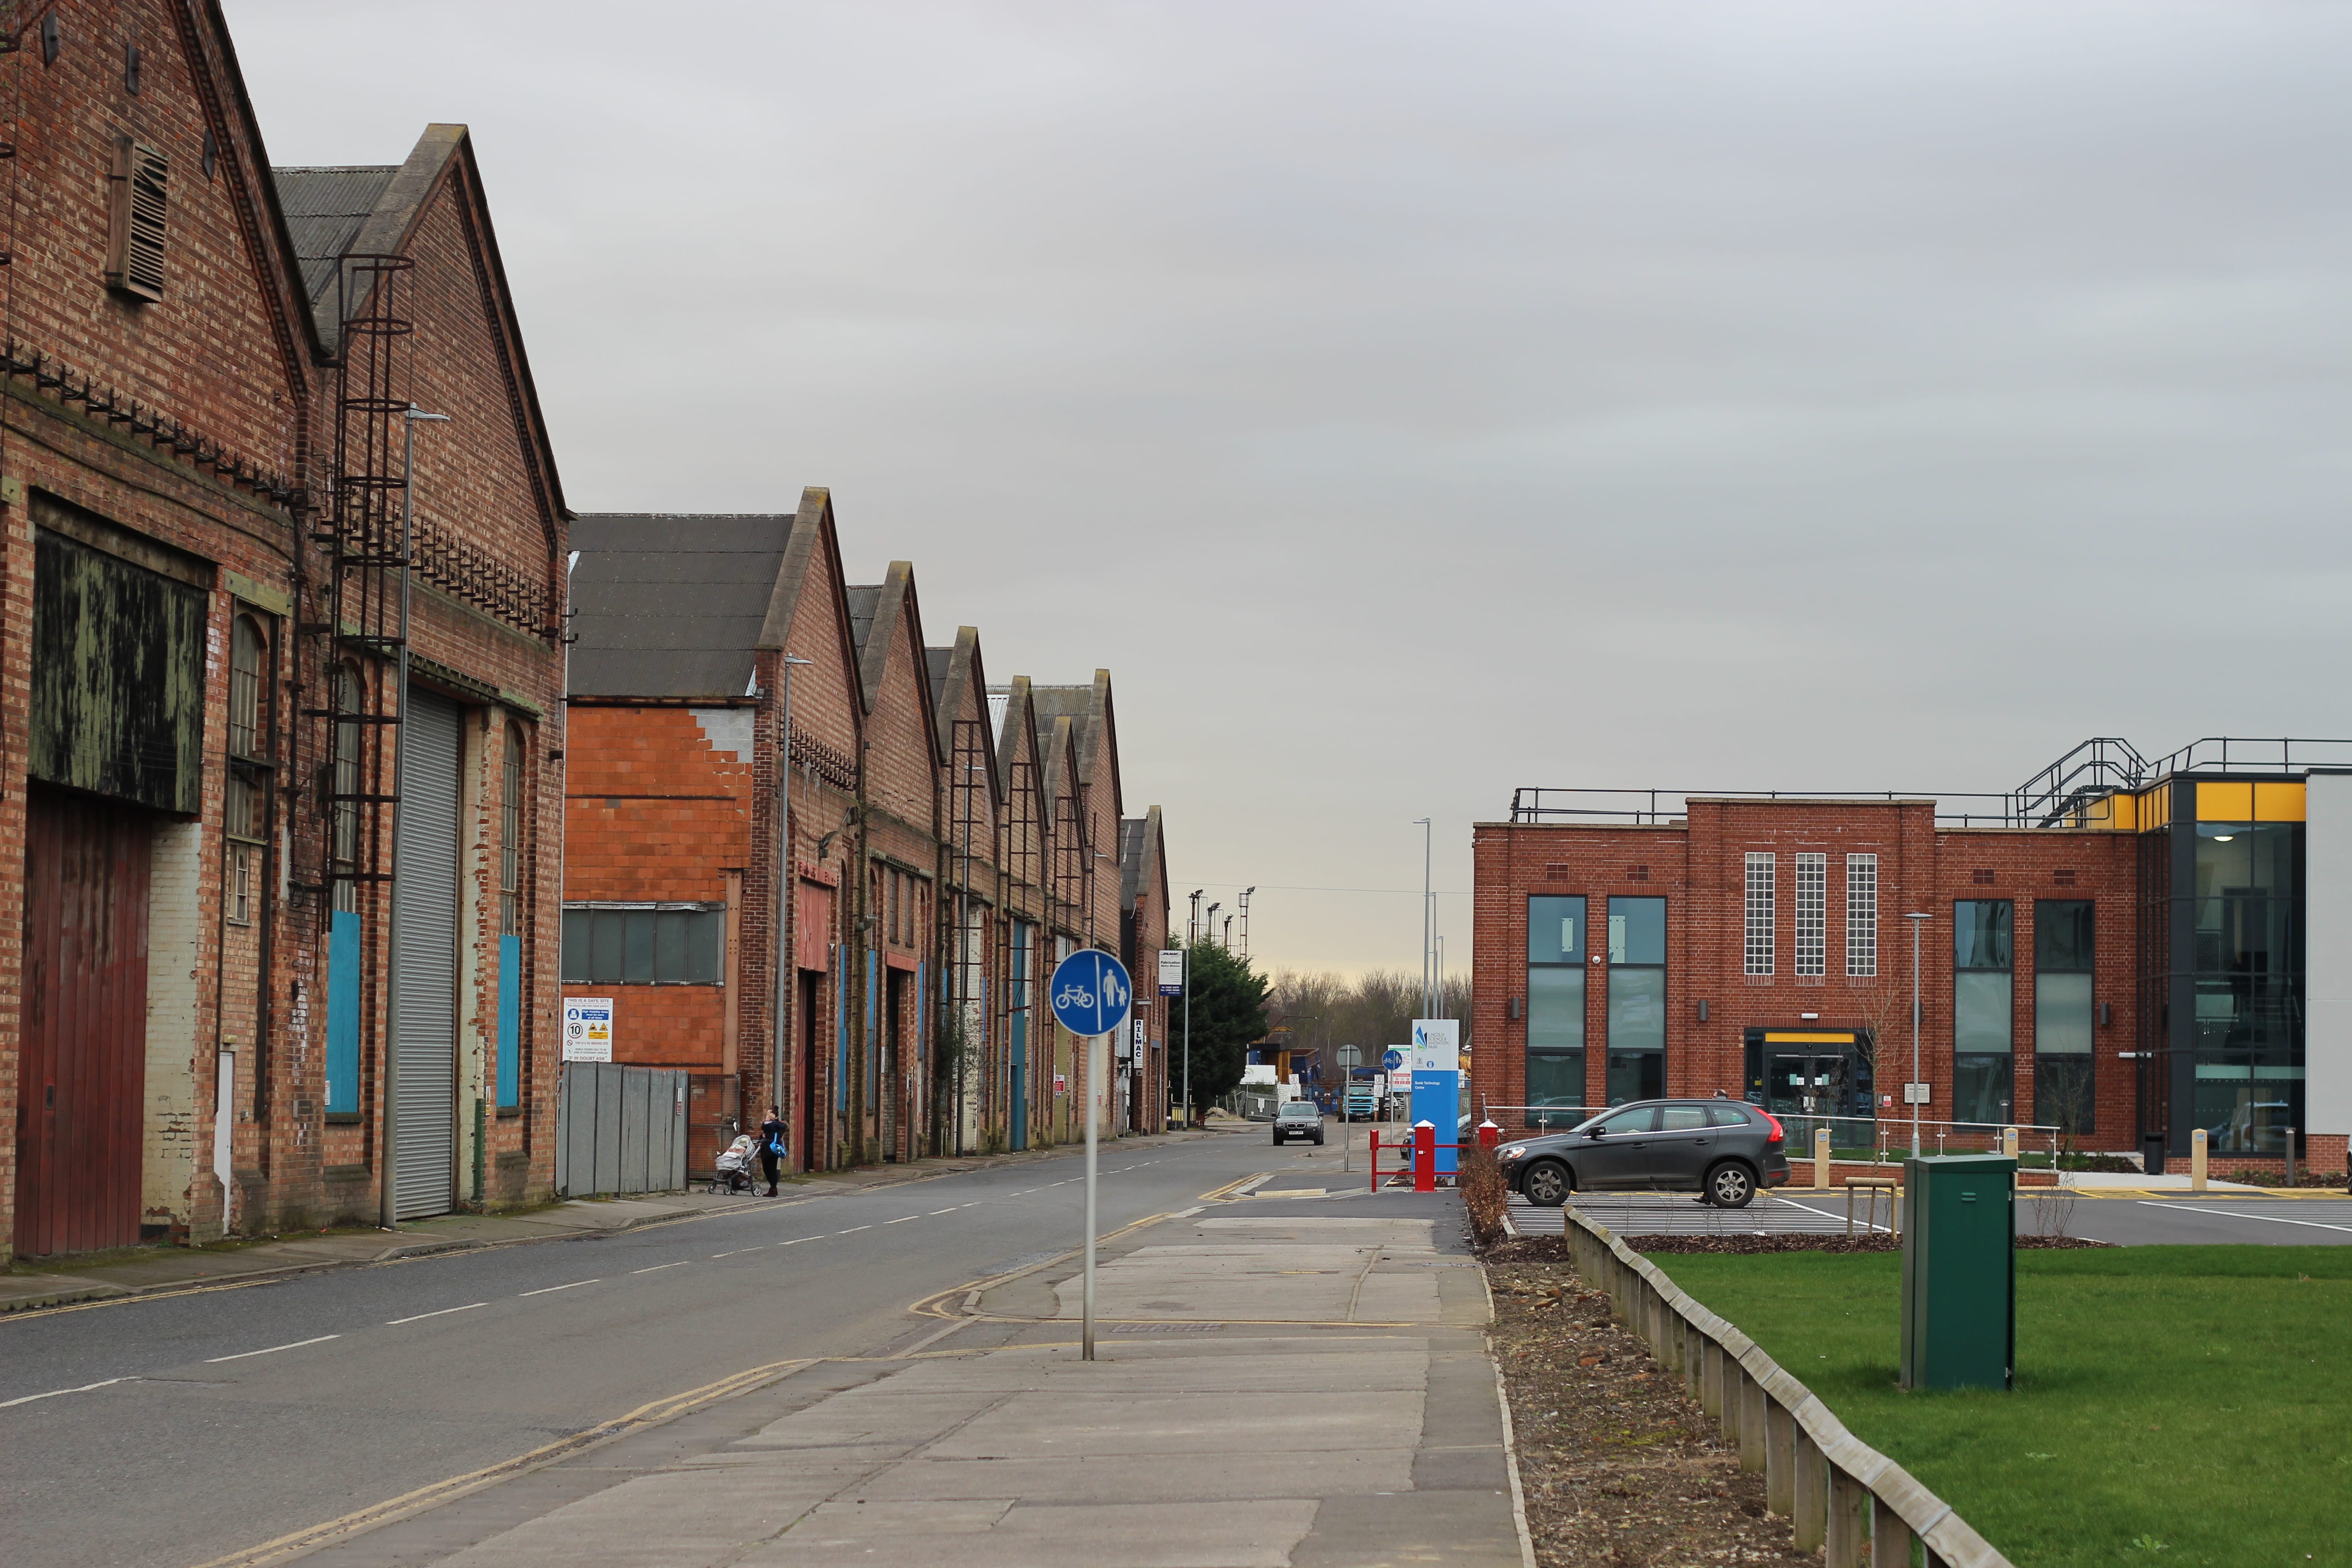
On Monday I went location scouting and took some photos of an area that I liked the look of. I ended up near the Science and Innovation centre at the uni, the road behind has a number of warehouses and what I assume to be a scrapyard at the end of the street (I could be wrong but regardless it was off limits)
The location itself isn’t that dangerous once common sense is used, there is a road which means occasional traffic. The pavement is a little uneven in places so there is potential for a trip but I would argue it is as safe as filming near any other road. It’s also close to a uni building assuming there is some first aid available nearby. Of course there is also the issue of being too close to a business that may cause people to come out and question what you are doing, though it was only a feeling; I did feel like I was being watched when setting up my camera near the warehouses.
Although these are not finals, the work I had recorded gave me an idea for matte painting and how I could possibly use this location at a potential area for filming the final shots I might need for my project.